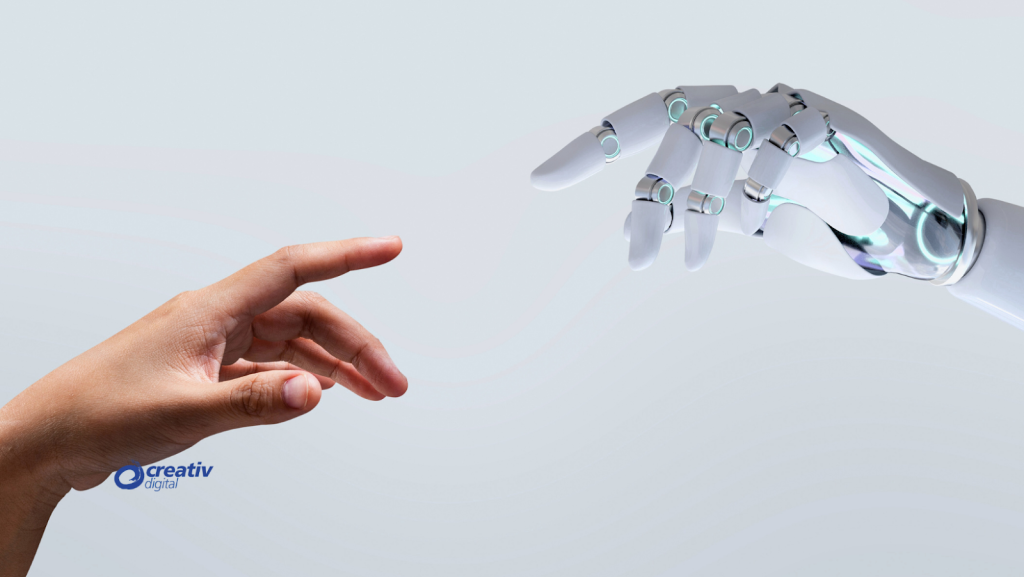
The way developers approach web development is evolving fast. What used to take weeks of manual coding, testing, and debugging is now happening in a matter of hours — all thanks to a new wave of intelligent tools. This transformation is what we call vibe coding — a seamless collaboration between human creativity and AI that codes.
At Creativ, we see this shift every day. The rise of coding AI has changed how our teams design, build, and deploy websites. Instead of writing every single line of code manually, we use AI tools to automate repetitive tasks, identify issues early, and enhance the quality of the final product. It’s not about replacing developers; it’s about empowering them to work smarter and create more innovative digital experiences.
Table of Contents
- The Rise of Vibe Coding
- How AI Is Transforming Web Development
- Human Creativity + AI Logic = Next-Level Coding
- Smarter, Faster, and More Efficient Coding Platforms
- The Power of AI Code Detection
- How Creativ Uses Vibe Coding to Deliver Results
- The Future of AI Coding
- Final Thoughts
The Rise of Vibe Coding

So, what exactly is vibe coding?
Think of it as coding in flow — a space where human logic meets machine learning. Developers feed ideas into coding platforms, and AI coding systems help bring them to life. Whether it’s auto-generating components, suggesting better syntax, or optimizing code performance, coding AI is becoming a silent but powerful partner in the creative process.
This kind of vibe coding allows developers to stay focused on strategy, design, and user experience while AI takes care of structure, syntax, and speed. For agencies like Creativ, this approach aligns perfectly with our mission to blend creativity with technology in every project we deliver.
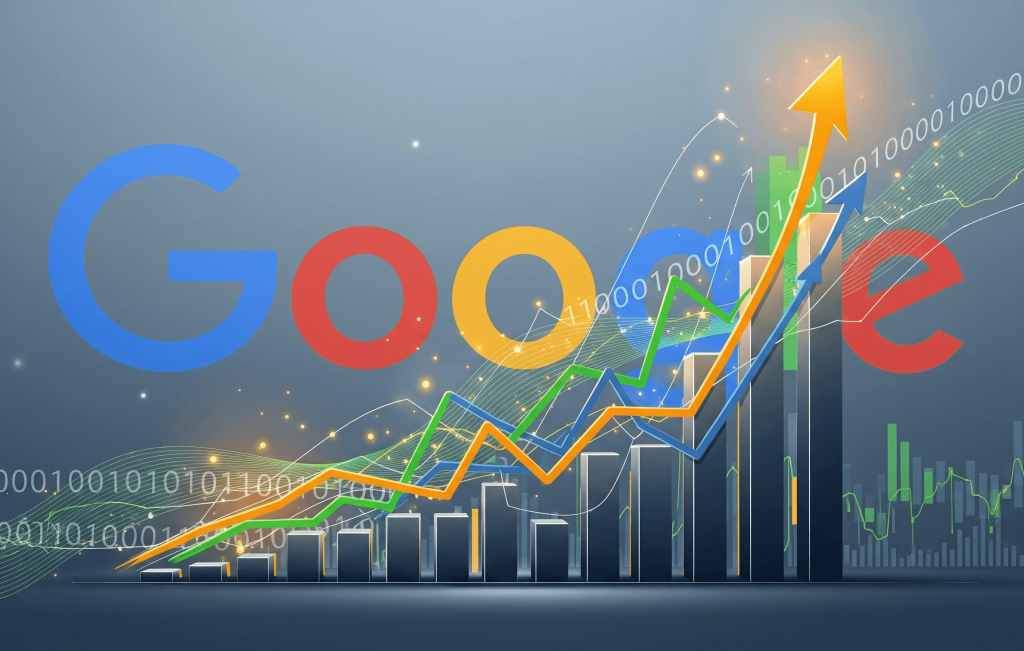
How AI Is Transforming Web Development
Modern web development isn’t just about HTML, CSS, and JavaScript anymore. It’s about integrating complex frameworks, managing databases, optimizing for SEO, and ensuring security — all while keeping performance and accessibility in check. That’s a lot to juggle.
Enter AI tools and AI that codes. These innovations are rewriting the rules of efficiency. For instance, developers can now use coding platforms enhanced with AI coding features that analyze thousands of code patterns to recommend better solutions. This means fewer bugs, faster turnaround, and cleaner, more maintainable code.
Even better, an AI code detector can scan repositories to find vulnerabilities before they cause real damage. It’s like having an always-on QA engineer ensuring every project meets the highest standards. That’s why at Creativ, we integrate these smart systems into our workflow — to keep our client projects secure, scalable, and future-proof.
Human Creativity + AI Logic = Next-Level Coding

Despite all the automation, the human element remains irreplaceable. The beauty of vibe coding is that it doesn’t remove creativity; it amplifies it. Developers can now focus on solving problems that truly matter — improving user experience, innovating in design, and crafting unique brand stories through technology.
Coding AI helps eliminate the grunt work — debugging, error tracking, syntax fixing — so humans can do what they do best: think creatively. This balance is especially powerful in web development, where the blend of art and logic defines every successful project.
At Creativ, we embrace this philosophy. Our developers use AI tools not to replace their skills but to enhance them. From automated layout generation to smart content structuring, AI coding lets us move from concept to launch faster than ever before — without compromising quality.
Smarter, Faster, and More Efficient Coding Platforms

The next evolution of coding platforms goes beyond simple autocomplete suggestions. Modern AI coding systems understand intent. They analyze context, predict what developers are trying to achieve, and provide dynamic solutions in real time. This is AI that codes with precision.
For example, instead of searching Stack Overflow for the right snippet, a developer can type a comment like “create a responsive grid layout,” and coding AI will generate optimized code instantly. These tools also learn from user patterns, continuously refining their suggestions — a true example of vibe coding in action.
It’s not hard to see why this approach is gaining momentum in web development agencies worldwide. Teams using AI tools are completing projects up to 40% faster, with fewer bugs and higher overall performance.
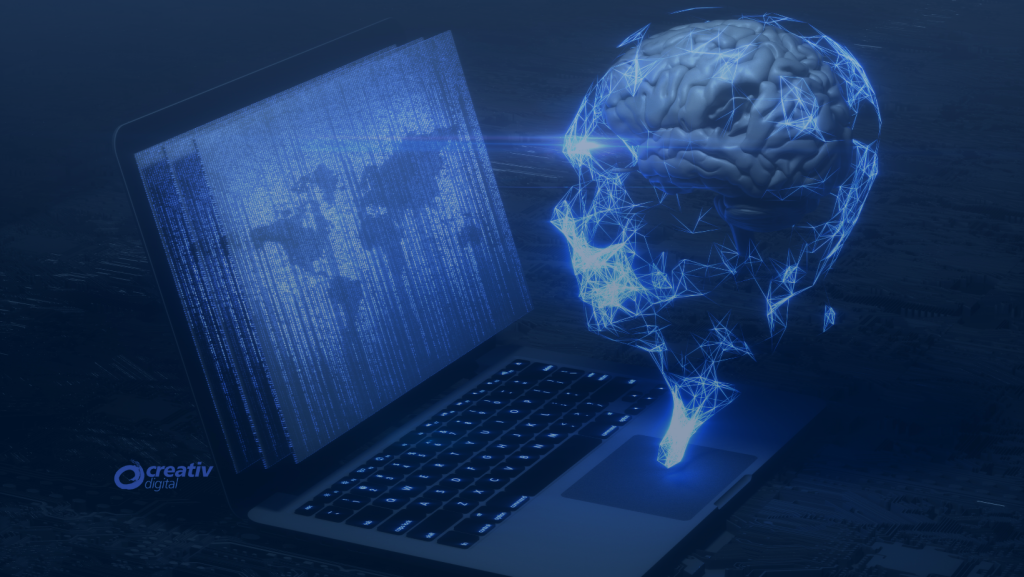
The Power of AI Code Detection
As automation increases, so does the need for accuracy. An AI code detector is a critical safeguard that ensures every line of code is secure and compliant. It uses pattern recognition and machine learning to identify potential issues — from inefficient loops to security vulnerabilities — before deployment.
This capability is transforming how agencies like Creativ maintain code quality. By combining AI coding with human review, we achieve the best of both worlds: speed and precision. It’s another layer of intelligence that keeps websites robust, reliable, and safe for users.
How Creativ Uses Vibe Coding to Deliver Results
At Creativ, we’ve fully embraced the power of vibe coding. Our process integrates AI tools, coding platforms, and human expertise to deliver high-performing websites that resonate with both users and search engines.
Here’s how it works:
- Concept & Strategy: Our team defines project goals, design direction, and user flow.
- AI-Assisted Development: Using AI that codes, we accelerate framework setup, layout generation, and content integration.
- Smart Testing: An AI code detector scans for errors and vulnerabilities.
- Human Optimization: Our developers refine, adjust, and personalize the output for maximum performance and creativity.
- Launch & Evolve: With coding AI continuously learning from each project, our results keep improving over time.
This is what makes vibe coding more than a buzzword — it’s a movement that’s reshaping how agencies deliver value through technology.
The Future of AI Coding
The future of web development is deeply intertwined with AI coding. As AI tools become more advanced, developers will shift further into roles of architects and innovators rather than technicians. They’ll spend less time wrestling with code and more time crafting digital experiences that inspire.
Soon, coding AI won’t just assist — it will collaborate. It will anticipate needs, suggest creative approaches, and even generate visual prototypes based on written briefs. The possibilities are endless, and the pace of change is accelerating.
But one thing will remain constant: the human touch. Vibe coding thrives when creativity and intelligence come together, and no algorithm can replicate the spark of human imagination. That’s why Creativ continues to invest in both talent and technology, ensuring that every project we deliver combines the best of both worlds.
Final Thoughts
Vibe coding is redefining the landscape of web development. With AI that codes, AI tools, and intelligent coding platforms, developers are entering a new era of efficiency and creativity. From using an AI code detector for precision to leveraging coding AI for innovation, the boundaries of what’s possible are expanding fast.
At Creativ, we believe the future belongs to those who can harmonize human creativity with artificial intelligence. The result? Smarter websites, smoother workflows, and digital experiences that truly connect.
Ready to experience the future of web development?
Visit creativ and see how vibe coding can transform your next project.
The post Vibe Coding: How AI Is Changing the Way Developers Write Code appeared first on Creativ Digital.
from Creativ Digital https://ift.tt/8ix1l97